
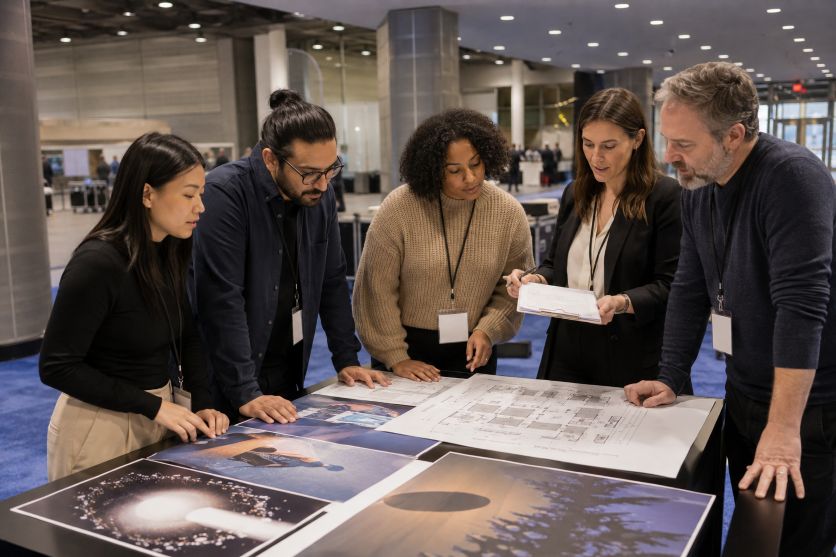
New York City regulates commercial deliveries through truck routes, parking rules, and designated loading areas. For a marketing team arriving for a trade show, conference, or pop-up event, these local conditions add another layer to campaign planning. Posters must reach the correct venue entrance, in usable condition, before installation begins. A practical plan connects creative decisions with production, transport, and venue access from the start.
Traveling with every display may seem simple, but oversized tubes, checked materials, and late artwork changes can create problems. Arranging with a poster printing service in New York City (Poster Printing NYC) offers an alternative when a team wants to produce materials near the event. Local production can reduce the amount of printed material carried by staff and provide flexibility if quantities or designs change. The decision should still be based on verified specifications, costs, proofing procedures, and delivery commitments.
Step 1: Define the Campaign’s Role at the Event
Begin by listing what each printed piece must accomplish. A poster near an entrance may guide attendees, while one behind a demonstration area may explain a product or reinforce the event theme. A pop-up shop might need window graphics, promotional posters, directional signs, and price displays. Separating these functions prevents teams from ordering several pieces that compete for attention or repeat the same message.
Ask the organizer for an exhibitor manual and floor plan before choosing dimensions. The Jacob K. Javits Convention Center tells exhibitors and contractors to follow its operational policies and event-specific guidelines. Its guidance illustrates why venue rules should be checked early rather than assumed. Confirm usable wall space, permitted mounting methods, fire-safety requirements, installation hours, and any restrictions imposed by the event organizer.
Step 2: Choose Sizes Based on Viewing Conditions
Measure the available display area and consider how far away people will stand. A poster viewed across a busy aisle needs a simpler layout and larger lettering than a sign read beside a registration desk. Leave enough open space around the main message so it remains understandable when booths, people, lights, or furniture enter the viewer’s line of sight.
Designers should prepare artwork at the final output size or at a clearly documented scale accepted by the printer. Very large graphics may use different resolution settings from close-viewed posters, so one number should not be applied automatically to every job. Request written specifications covering document dimensions, image resolution, color mode, bleed, safe margins, and preferred PDF settings.
Step 3: Calculate Quantities With a Small Contingency
Fixed displays are easier to count than handouts. Create a location list showing every entrance, booth wall, counter, window, meeting room, and backup position. Then assign a quantity and size to each location. This turns a general estimate into a trackable production schedule.
A modest reserve can cover damaged pieces, layout changes, or an added directional point. However, ordering too many copies increases shipping, handling, and disposal. Reusable posters should avoid dates and other details that quickly expire. Event-specific information can be placed on smaller replaceable panels when the design permits.
Step 4: Match Materials to the Environment
Paper choice should reflect placement, lighting, handling, and expected display time. Matte surfaces can help limit distracting reflections under strong exhibition lighting. Glossy finishes can create a more reflective appearance, while heavier stocks generally provide more rigidity. Lamination or another protective finish may be useful where signs will be touched repeatedly, but it can affect glare, weight, recyclability, and cost.
Ask the producer to explain how each material performs indoors, near windows, or during short outdoor exposure. Avoid treating terms such as “weather-resistant” as guarantees. Request the product specification and clarify how moisture, sunlight, mounting methods, and temperature may affect the finished piece.
Step 5: Prepare and Inspect the Print Files
Bleed extends artwork beyond the trim line so minor cutting variation does not leave an unintended white edge. Adobe explains that backgrounds touching a page edge should continue into this area. Its InDesign guidance also recommends confirming which printer’s marks the production provider expects, since requirements vary by workflow.
Before uploading files, outline or package fonts as instructed, check image links, review spelling, and examine logos at high magnification. Confirm whether the printer wants RGB or CMYK artwork instead of converting files without guidance. Adobe notes that commercial workflows may place either RGB or CMYK images into page-layout software, which is another reason to follow the selected provider’s profile.
Step 6: Build Production Time Around Approvals
Work backward from installation, not from the event’s public opening. Include time for file review, a digital or physical proof, corrections, printing, finishing, packing, delivery, and inspection at the venue. Assign one person to approve proofs so conflicting comments do not delay production. Record the approved version number and prevent older files from being submitted later.
Step 7: Plan the Final Delivery
Confirm the exact receiving location, contact name, phone number, delivery window, package labels, and storage arrangements. The New York City Department of Transportation regulates commercial vehicles, truck routes, loading zones, and parking. Manhattan also contains limited truck zones with specific restrictions, making route and timing checks important for local couriers.
Send the venue and printer the same delivery instructions. Ask whether materials should arrive at an advance warehouse, loading dock, event office, hotel, or temporary retail space. These practical tips for planning banner logistics for corporate travel events also explain why teams should confirm shipment details and retain a digital copy for possible local reprinting. Keep the approved files accessible to an authorized team member in case a display is damaged, delayed, or missing.
Pre-Event Checklist for Traveling Marketing Teams
- Confirm venue dimensions, mounting rules, and installation times.
- Assign a purpose, location, size, and quantity to every poster.
- Approve materials and finishes under expected lighting conditions.
- Follow the printer’s file, bleed, color, and resolution requirements.
- Build proofing, corrections, finishing, and inspection into the schedule.
- Verify delivery access, recipient details, labels, and backup files.
A successful printed campaign depends less on transporting the greatest number of materials and more on making coordinated decisions early. When creative, production, and logistics teams share one schedule, traveling brands can arrive with displays that suit the venue, support the campaign, and remain adaptable when event conditions change.